How to use MAWi in a Command and Control rooms, SOCs, or NOCs

How to use MAWi in a Command and Control rooms, SOCs, or NOCs

How to set up a video wall for a Command center, a Control room,

NOCs, or SOCs


MAWi allow you to easily set up a video wall for command and control rooms.

Start by setting up the video wall layout with the Displays Configuration tool within MAWi

and then start adding sources to your screens.


REQUIREMENTS

The first step is to create a video wall layout, as shown in the following guide.

In this demo, we’ve created a 3×2 video wall layout (3 screens wide by two screens high). The overall resolution is set to 5760 x 2160 as shown in the clip
.


Next, install the OBS Studio application.

OBS Studio is open-source software that specializes in broadcasting, streaming and recording multiple types of sources from different inputs.

Download OBS Studio

Run the installer and go through the default installation process.

Once finished, launch the OBS Studio application.


When the OBS studio starts for the first time it will launch the Auto-Configuration Wizard. Set it to “Optimize just for recording…”


You can easily get back to this wizard if skipped:

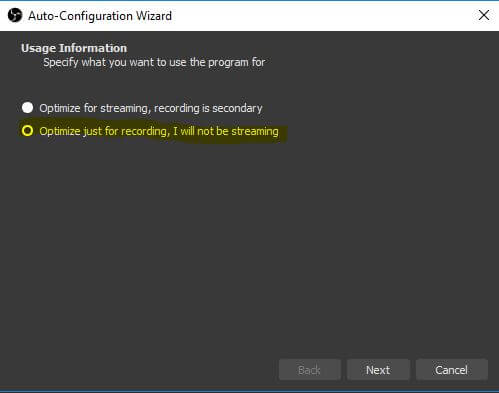
Tools > Auto-Configuration Wizard

Press Next.


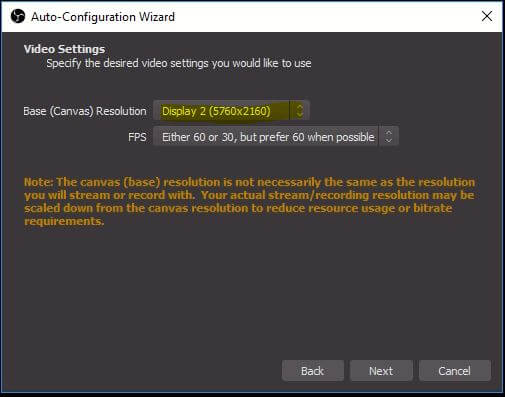
In the next page, set the Base (Canvas) Resolution as your video wall’s resolution. In our case – 5760 x 2160.

Press Next and in the last page press Apply Settings.


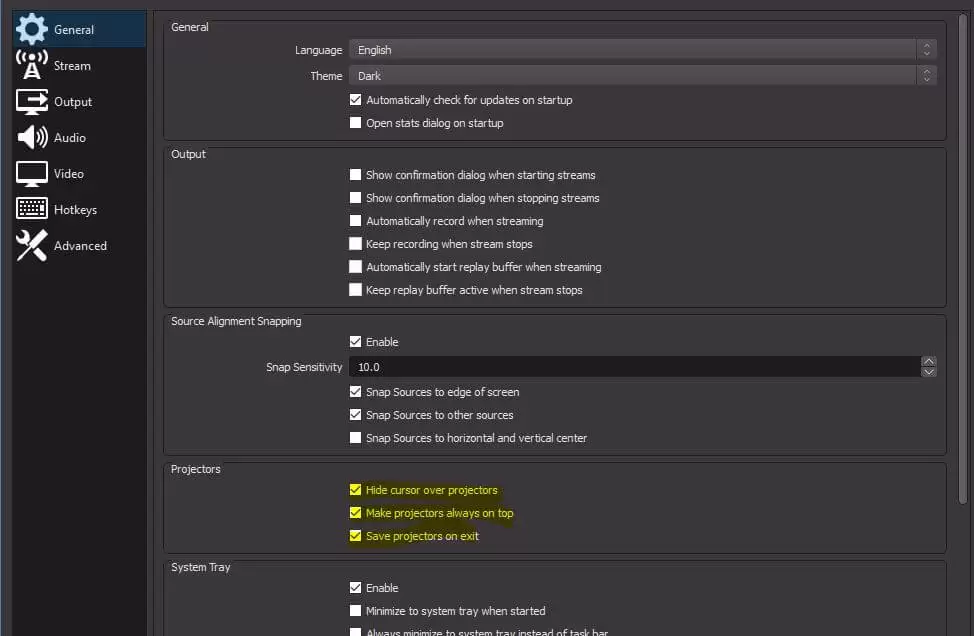
Go to File > Settings > General > Projectors – tick all checkboxes.


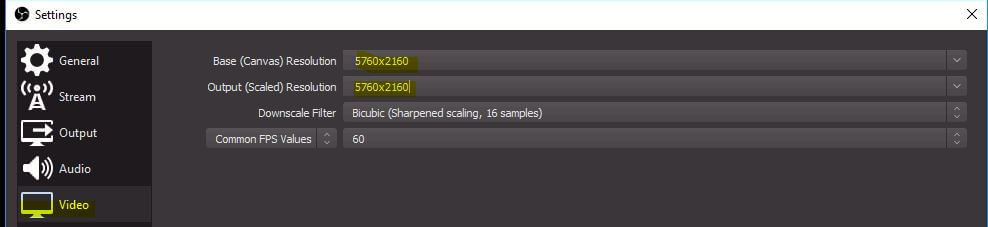
Go to File > Settings > Video –

Set both Base and Output with your video wall’s resolution.

Again, in our case, the video wall’s resolution was set to 5760 x 2160.

Click OK and go back to the main dashboard.

Right-click on the Canvas > Select the Full-Screen Projector to your video wall’s screen. In our case: Display 2: 5760 x 2160


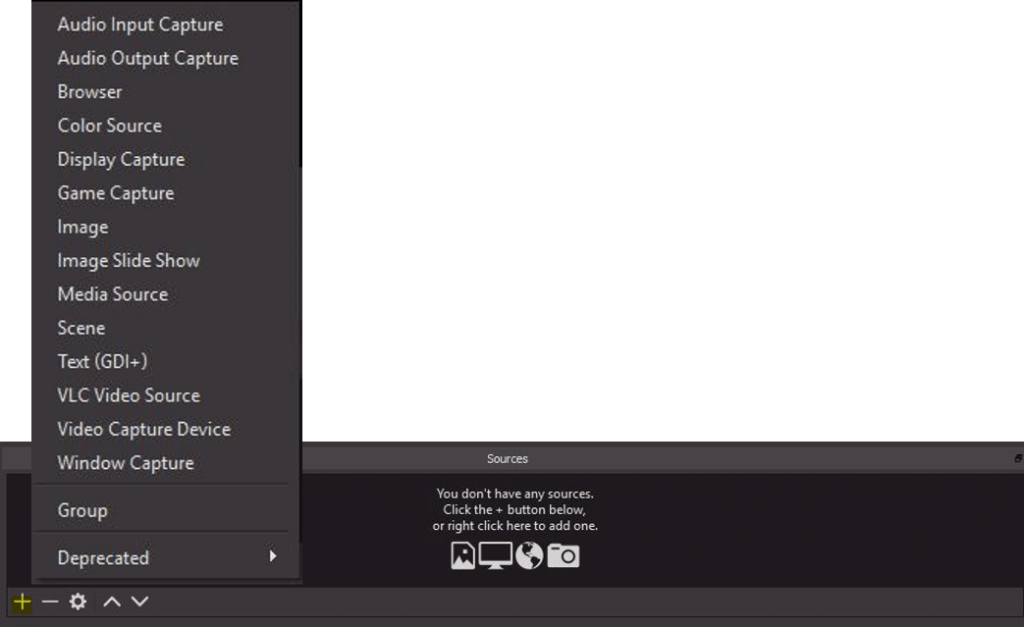
Start adding sources on your Canvas by pressing the ‘+’ button in the sources area.

You can select any source from the list and allocate it to  your canvas as required.


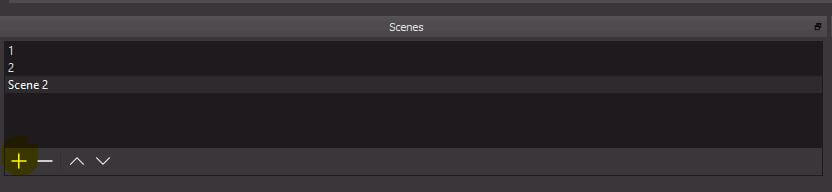
Add Scenes with different sources and layouts.

You can either switch between the Scenes manually by selecting them from the Scenes list, or use our guide below for automatic or controlled switching.


How to switch scenes automatically 

Here we present two options of switching between the different Scenes you’ve created in OBS Studio:

1. Using the Advanced Scene Switcher plugin –

Mainly used when using the OBS Studio’s user interface for managing the content shown on the control room video wall.

2. Using the Command-line plugin plugin –

Mainly used when using the product from within Monitors AnyWhere Connect or MAWi for managing the content shown on the control room video wall.


Using the Advanced Scene Switcher plugin

Download the Advance Scene Switcher:

Advanced Scene Switcher

Unzip the file and copy the DLL file to your corresponding OBS Studio’s plugins folder.


If you’ve installed the 64bit version of OBS Studio – C:\Program Files\obs-studio\obs-plugins\64bit\
If you’ve installed the 32bit version of OBS Studio – C:\Program Files (x86)\obs-studio\obs-plugins\32bit\
Re-open the OBS Studio app and go to Tools > Advanced Scene
Switcher

Go to Scene Sequence tab and create the required sequence of scenes.

You can set up the time and transition effect between the different scenes.
Add your sequence by pressing  the ‘+’ button

To apply the settings and start the Advanced Scene Switcher, go to the General tab and press Start.

Your scenes will start to circulate according to the sequence you’ve configured in the Advanced Scene Switcher.


Using the Command line plugin

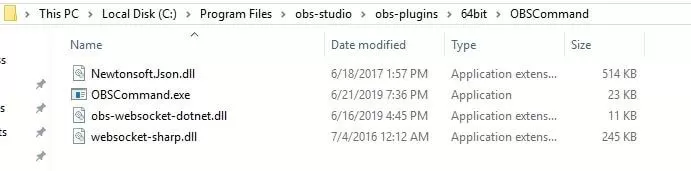
Download the Command line plugin:

Command line plugin

Unzip the file and run the setup obs-websocket-Windows-Installer.exe
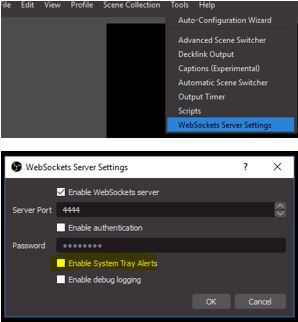
Make sure OBS Studio is closed during the installation.
Once installed, copy the folder OBSCommand to OBS Studio’s plugins folder.


Re-open OBS Studio and go to Tools > WinSockets Server Settings > Untick the ‘Enable system tray alerts’


In MAWi

First, you’ll need to create a Local Launcher for OBSCommand.

Click on the Dashboard menu > Admin Panel > Manage Launchers

Select the Local Launcher’s tab.

Select the name of the machine on which you’ve installed the OBS Studio.

Enter the name of the new launcher and its path:

C:\Program Files\obs-studio\obs-plugins\64bit\OBSCommand\OBSCommand.exe

Click the Disk button and then Save.


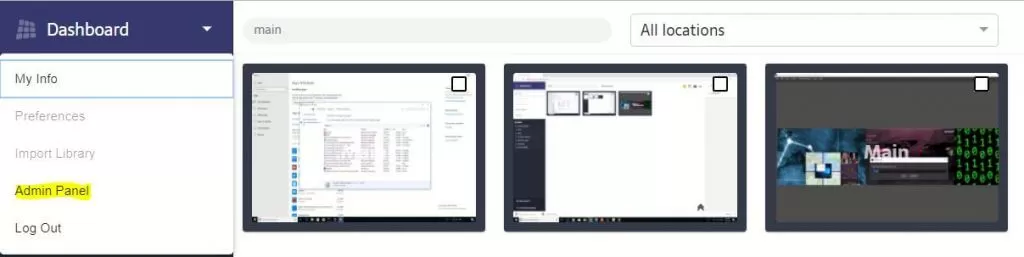
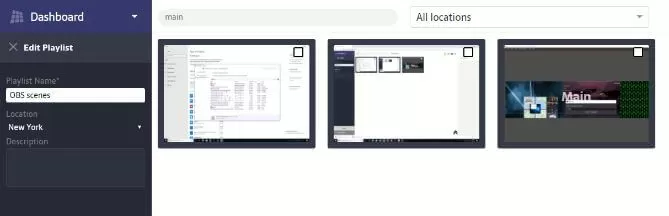
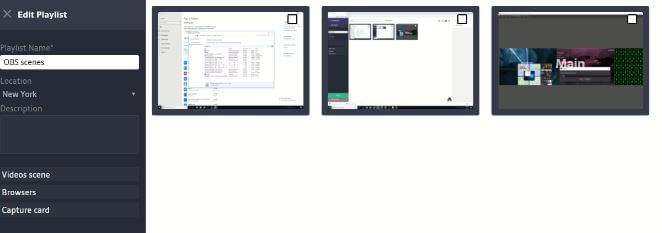
Go back to MAWi’s main dashboard, Create a new playlist and set the location name to the specific machine you’ve installed OBS Studio on.

Click Add new item


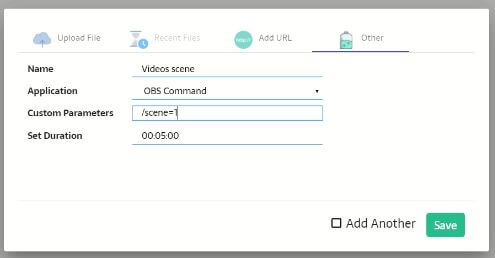
Select Other tab, give the playlist item a short description (optional), select the OBS Command and in the Parameters field enter:


/scene=<scene name>
Save the item


You can add multiple items in one playlist and once done click on Finish.


Start playing!

Drag and drop the playlist to the machine’s screen where OBS Studio is running, right-click and select Play.